Make THIS farm-food when you're hungry!
... and pretend like all projects are going according to plan
Hello my friends,
Projects always sound easier in the beginning. Even though we’ve spent the better part of a decade laboring over our home and gardens, I’m still painfully optimistic when we decide to tackle an new project that this will be the one that we really get right. Someone give us a trophy - we’ve figure it out. We’ll end it on schedule, perfectly finished and polished. (Insert Prosecco toast.)
And yet, as our friend Lamar once said, every project ends up costing twice as much, taking twice as long, and looking half as good. Despite our best efforts, our chicken house renovation is no exception to Lamar’s reigning truth.
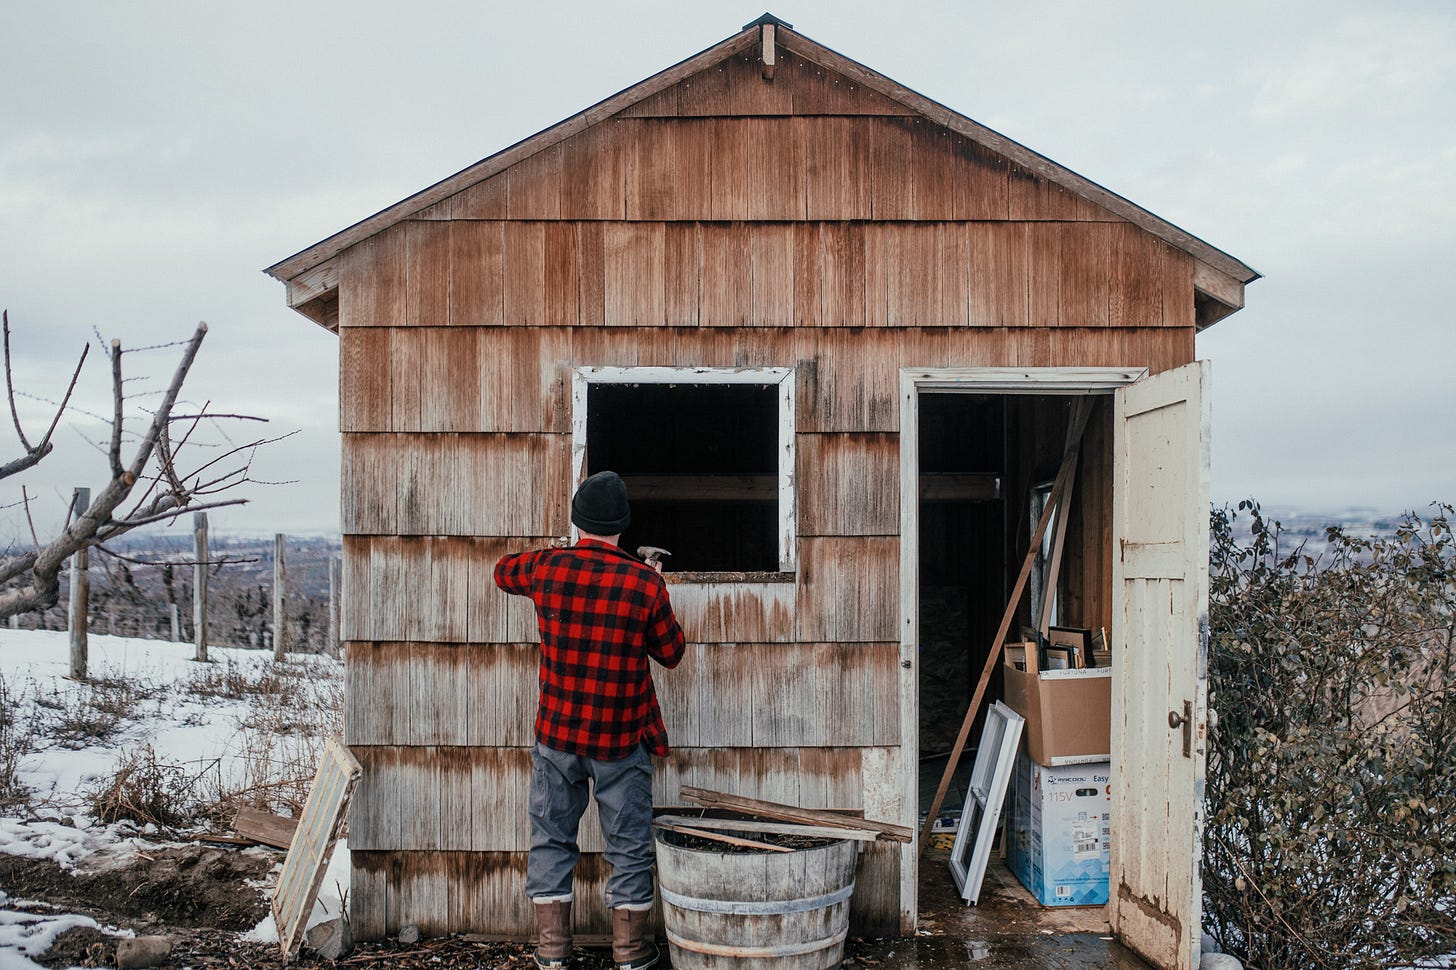
If you’re new around her, the “chicken house” photographed above was originally just that: our chicken house. We built it a few years after arriving here on our small farm, eager to fill it with turkeys, ducks, geese, and chickens. Which we most certainly did! This was our chicken coop for five years, before we decided to move our poultry further away from the house. Poultry equates to summer flies (should’ve thought about this beforehand).
Anyway, after moving the chickens further away from the house, we were left with this fantastic, fairly new, “tiny house”. I would often gaze at the chicken house from my kitchen window, hands covered in bubbles from washing dishes, dreaming of what this 10x14’ room could be. I love daydreaming. But life has a way of directing us certain ways at certain times and the chicken house has now sat vacant for years, waiting for time and budget to allow for our attention.
Over the winter, our dreams settled on finally making dual-use of the space for the two biggest needs not met in our little 1909 cottage:
A room for music gear / electric drum set, amps, guitars, etc. (Stuart has quite the guitar collection shoved into our little house)
A bed for guests to sleep on
We’re still working hard on getting the room ready - as you’ll see in this week’s new video! Once the sheeting is finished, we can move onto shiplap and flooring (you know all I want to do is paint and decorate…). We’re in the home stretch! In the meanwhile, as always, we’ve got to feed the people.
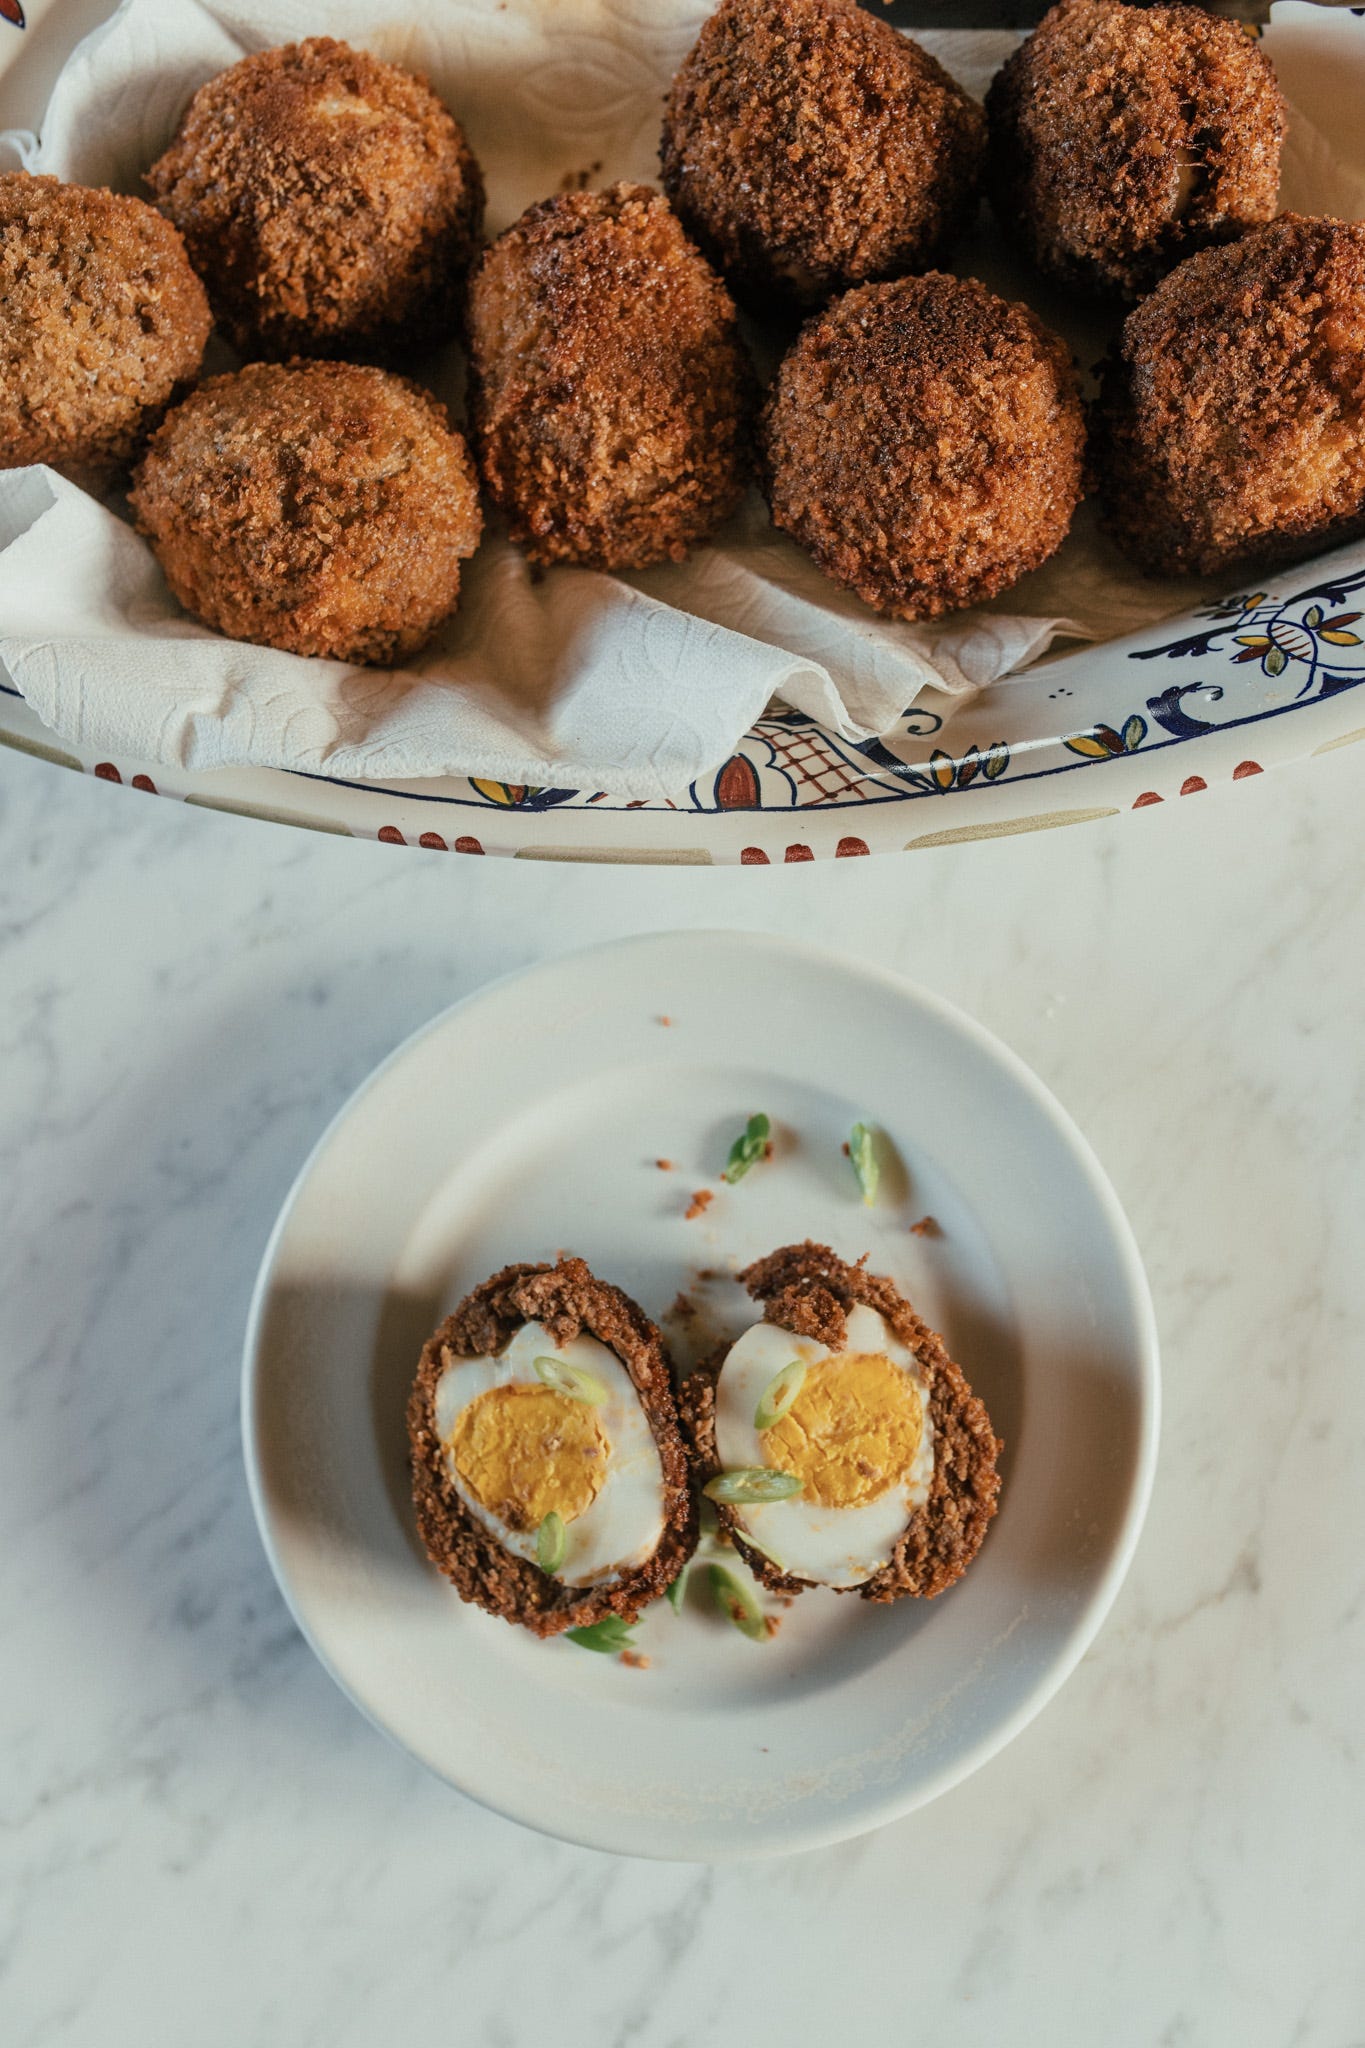
Today, I want to share with you what continues to be one of my family’s favorite “fast foods”. One that you can easily prepare and set on the counter before heading outside, allowing hungry hands to grab them as needed throughout the day. Scotch eggs provide protein and sustenance, giving us enough calories and energy to take us through long work days on the farm. However tedious those days become measuring endless pieces of plywood…
A few important notes on this wonderful meal:
Scotch eggs are delicious served with chilled white wine. For what it’s worth.
There’s very few ingredients at work here, so it’s essential to use a high-quality sausage or chorizo, like the Porter Road blends I use in the video. Even on our small farm here, where we produce a lot of our own meat, I’ve got needs in the freezer which I fill with Porter Road because the quality is exceptional. Simply put, Porter Road checks all of my animal husbandry standards, and taste standards, with zero compromises. I genuinely cannot recommend their meat products highly enough to you. They’ve got wonderful sausage and chorizo blends to choose from and you can get 15% off your first order by using this link.
I can only stand behind home-frying foods if those foods are fried in lard, duck fat, or tallow. These are fats that stand up well to high-heat (we fry at super hot 375 degrees!) and are a fantastic source of nutrition for our brains and bodies. As always, it needs to be high-quality. Shop the one I use right here. Remember, you can use it over and over and over and over again…
Scotch Eggs
14 eggs, divided
2 pounds sausage or chorizo
2 cups panko
3 cups lard or tallow
Fill a saucepan with 1” of water. Bring to a boil before adding in twelve of the eggs, cover the pan, and simmer the eggs for ten minutes. Immediately transfer the eggs to a bowl of cold water and set aside to cool.
Peel the eggs and set aside.
Divide the sausage into 12 equal pieces.
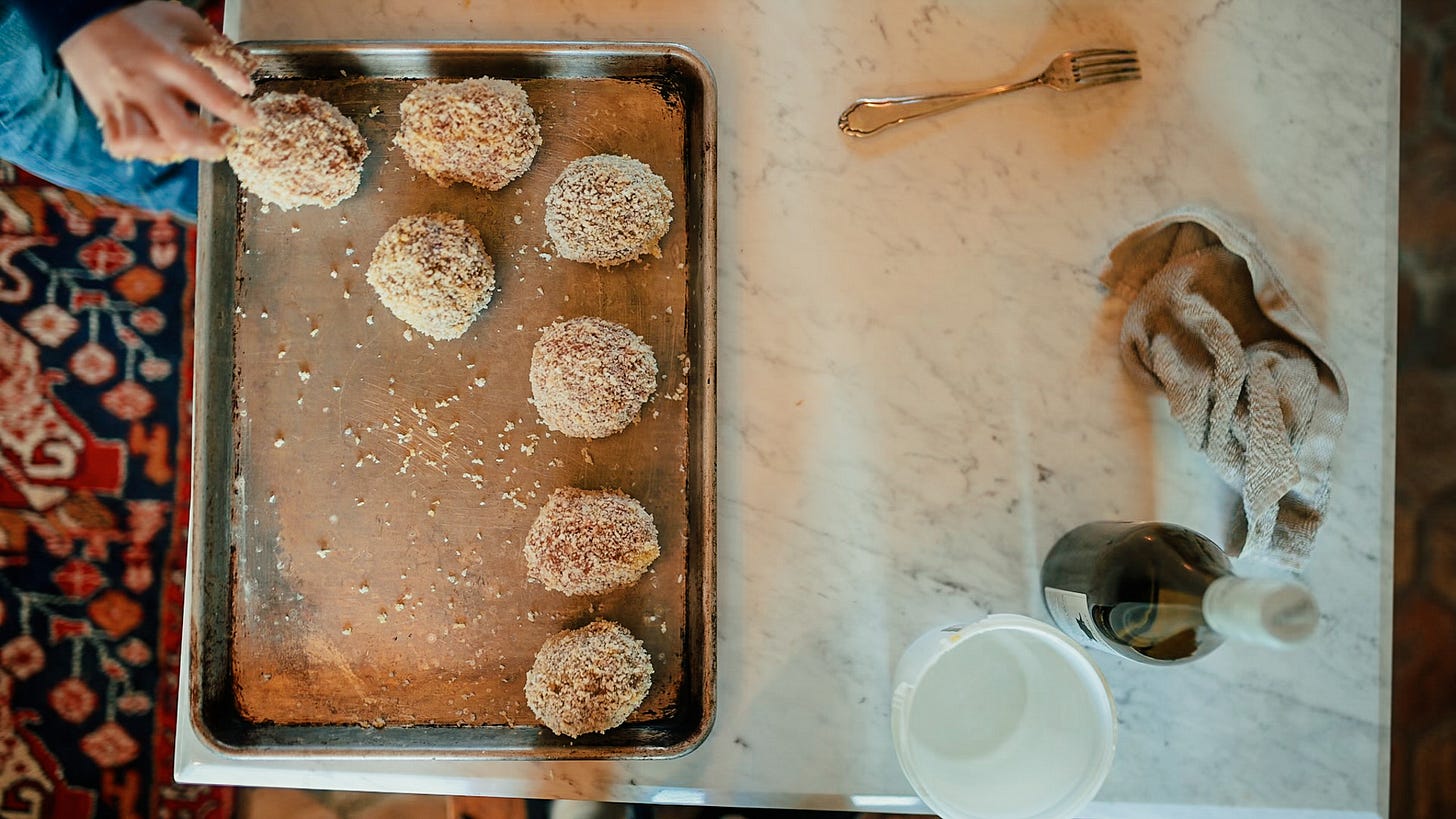
Pat the sausage into a thin disk. Add one egg into the middle of the disk and use your hands to form the sausage around the egg. Set on a plate.
Add the 2 remaining eggs into a bowl and whisk to combine.
Add the breadcrumbs into a separate bowl.
Dip each sausage wrapped egg into the egg mixture. Turn it around to coat it evenly. Transfer the egg into the breadcrumbs. Turn it around to coat it evenly.
Repeat with the remaining eggs.
Preheat the tallow in a Dutch oven until it reaches 375 degrees. Add in half of the eggs and fry until golden brown before turning and repeating on the second side. Set aside to drain and repeat with the remaining eggs.
I hope you have a blessed and delicious week, my friends. Here’s to wonderful spring projects that inspire, challenge, and change us.
Cheers,
Shaye
For more exclusive recipes join our Cooking Community!


